A fresh juice or smoothie is an important part of my day. Through drinking them you can easily add a serious amount of fruit and veg to your diet and there are so many benefits: heightened health, better skin, increased energy, increased immunity and a big one for me is no more waste from food rotting in the fridge. (for more on the health benefits of juices click here)
Recently I’ve received many questions about juicers and blenders so before I get onto the recipe I thought I’d quickly explain the nutritional difference between the two and which I use.
Difference between a juice and a smoothie
A blender uses the whole fruit and vegetable yielding a smooth, creamy and thick shake which fills you up and can work as a great meal replacement if some protein and fat (nuts, seeds, avocado etc) are added. Juicers extract the juice and leave the fibre and pulp behind so you’re left with a thin, nutrient-packed liquid that is more hydrating than filling.
The advantage of using a juicer is that you end up consuming large amounts of fruit and vegetables in a few glasses. It’s like a food concentrate – there is no way we could or would eat our way through that much produce in one session. Juices whack in higher doses of nutrients which are absorbed rapidly as there is no fibre to slow them down.
But, fibre is important and many of us simply don’t eat enough raw vegetables to come close to the amount of fibre we need. Fibre helps clean out the gut and remove toxins and it keeps you regular. Fibre also keeps you feeling fuller for longer and it slows the rate at which sugar is absorbed into your bloodstream. So, both have their merits but I drink smoothies far more frequently purely because they’re less hassle to make (and blenders are easier to clean).
I am a fan of smoothies because:
- I like the thick, milkshake texture
- They work as breakfast on the run and are more filling than juice
- I can throw in anything from the fridge (or kids leftovers) and so don’t have to waste half eaten bags of salad and herbs
- I’m lazy and they are ridiculously easy to clean whereas I am yet to find an easy to clean juicer and I find this really off-putting.
Blending tips:
- Don’t use too much fruit, ideally you’re looking at around 70% vegetables to 30% fruit.
- Start with a leafy green (spinach, kale, watercress, rocket, romaine lettuce) add in some other veg such as peppers, cucumber or celery and then one piece of fruit (you may need to add more fruit at first to sweeten the smoothie)
- Use a healthy liquid base: water, coconut water, nut milks, coconut milk
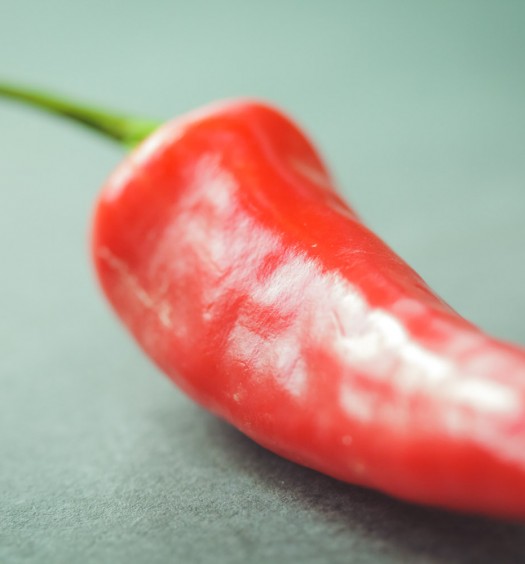
- Nutritional extras can enhance the power of the smoothie. Adding cinnamon helps regulate blood sugar levels, cayenne pepper, turmeric and ginger are potent anti-inflammatories and coconut oil is not only a great immune booster, it also provides a healthy fat which is necessary to ensure you absorb all the fat-soluble nutrients (such as vitamin A and K) from your drink.
- Ventolin coupon
- Actonel boniva and fosamax esophageal cancer
- Belgium geodon
- Ohio shipping floxin 300mg
- Where to buy tribenzor in New York online
- Buy minipress online usa
- Buy valtrex 1g online from Texas
- Substitute for drug flomax
- Where to buy antabuse 250mg in Kelowna online
- Generic imitrex 100mg from Tallahassee

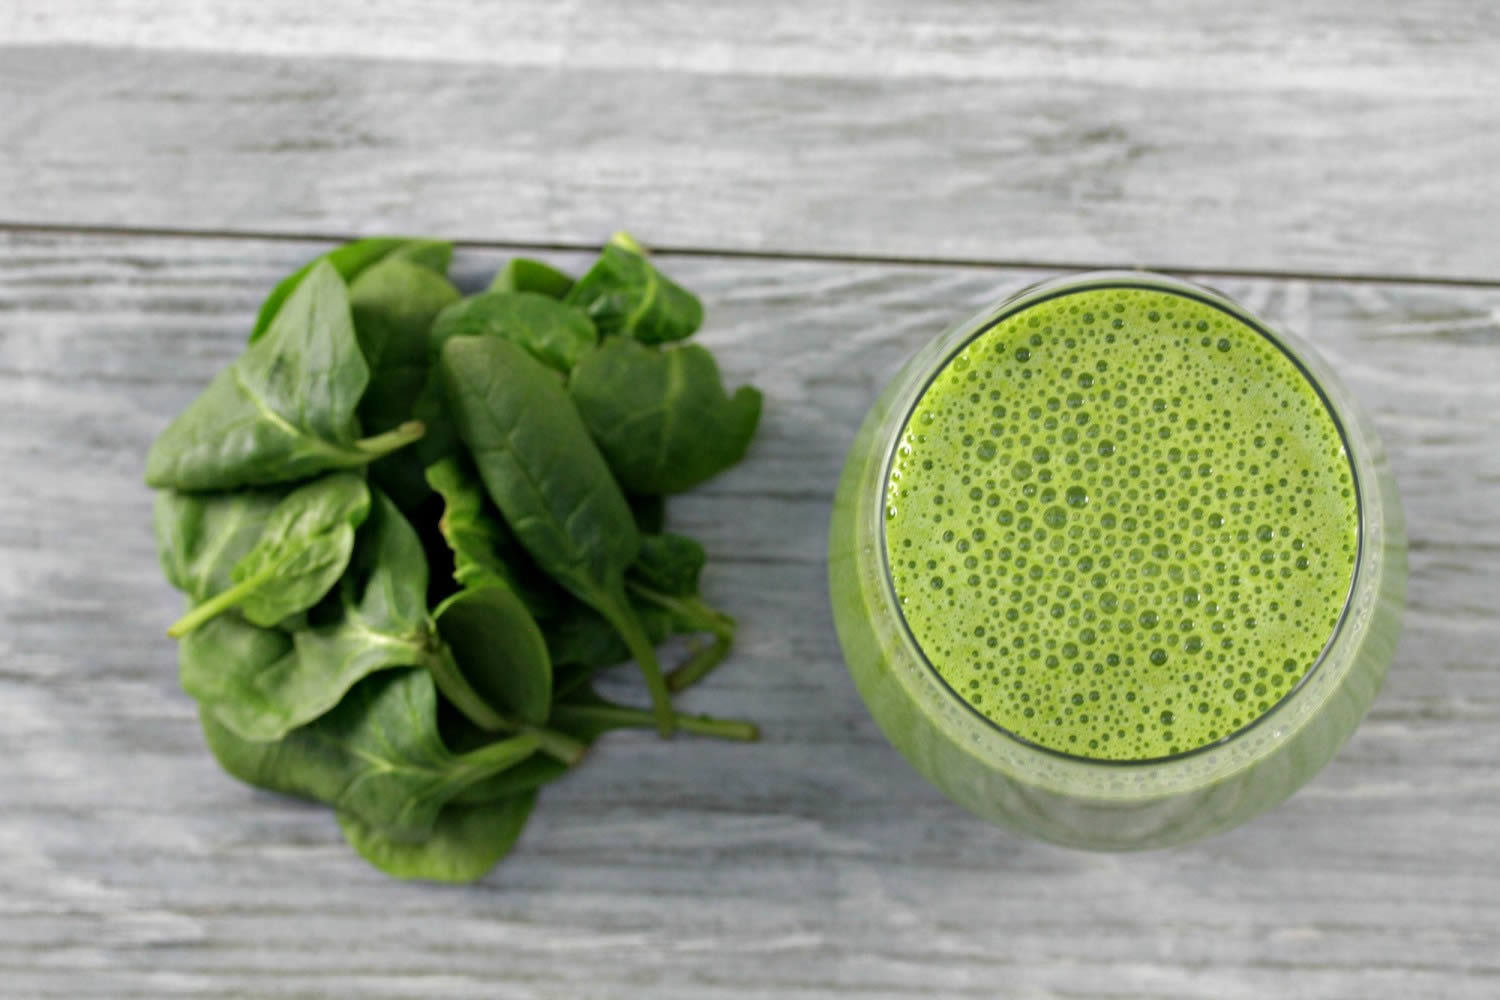
Basic green smoothie
I use a Nutribullet which has to be my favourite gadget. I was unsure whether to buy one as I have a perfectly good blender but I can honestly say it has been one of my best investments. It’s amazing how things like kale turn into a creamy liquid and it comes with different sized vessels, some with handles, so you can make as much as you need and take smoothies out with you if you’re rushing in the morning.
This is a really simple basic recipe, I usually pack a lot more veg into mine but to start out its worth stripping it back and working out which flavours you prefer. For example I love adding cucumber to mine as its great for the skin, but it can make the smoothie taste a bit bitter. The combination of coconut oil and vanilla gives it a really creamy milkshake-like taste and texture and works really well as a base to most smoothies. Plus they are both great for weight loss so that’s another added bonus.
Ingredients
1 large handful spinach
1 celery stick roughly chopped
1 banana
1 heaped tsp coconut oil
1/2 tsp vanilla extract
200 ml almond milk (or other milk)
Method
Wash all the ingredients and place in a blender. Combine until thick and creamy. If it’s too thick, add more water to get the desired consistency and drink immediately – nutrients begin to degrade if juices and smoothies are left for too long.
This is a basic recipe which is great as a starting point, but feel free to add in whatever you have to hand. If using stronger tasting greens such as watercress or rocket, I do find that pineapple or pears are particularly good at masking the taste and adding a great flavour.
We hope you enjoy this recipe, let us know how you get on in the comments below or on our facebook page and don’t forget to sign up to our newsletter to receive more recipes, nutrition tips and expert advice.
Tags
anti-ageing antioxidants blood sugar detox drinks smoothies vegetables dairy free kids digestion weight balance phytonutrientsYou Might Also Like

