
Making my first batch of coconut milk involved a definite ‘I can’t believe I haven’t done this before’ moment, and I’m willing to bet you’ll feel the same about it once you’ve given it a go.
Homemade coconut milk is incredibly quick and simple to make, using only two ingredients (one of which is water). You’ll notice that the cartons of coconut milk in the shops contain extra ingredients to enhance taste (such as grape juice) or prolong shelf life. Don’t get me wrong, there’s normally a carton hanging around my kitchen somewhere, but making my own is ultra-convenient, and also cheap.
 We use coconut milk in so many recipes – from hot chocolate to smoothies, pancakes and curries, so a bottle in the fridge never goes to waste. If I don’t want to make a large quantity, I just halve the recipe below. I love the fact that I no longer need to dash to the supermarket in the evening in order to make a morning smoothie.
Coconut milk is a great dairy-free alternative, but has other benefits:
- It’s super-easy to digest
- The Medium Chain Fatty Acids (MCFAs) in coconut milk go straight to the liver for energy production, instead of being stored as fat
- The MCFAs are great for the immune system, with anti-fungal, anti-bacterial and anti-viral activity
 Another benefit of this recipe is that it’s simple to make coconut flour from the coconut left over from your milk. In fact, it’s such a simple additional step that even I, inherently lazy, feel compelled to make it. Recipes such as our healthy chocolate chip cookies use coconut flour but we hesitate to frequently recommend it as it is so expensive, and can be quite hard to get hold of. At around £4 a bag in the health shop, making your own as a by-product of coconut milk adds up to quite a big saving.
Handy Hint: Because there are no extra ingredients, such as emulsifiers, this homemade coconut milk will separate in the fridge. This means that the fat will float to the top. People will tell you to simply shake your bottle to redistribute the fat, but I find that this only works if you bring your bottle back to room temperature first. Otherwise I use a knife to (gently) cut through the top layer, or I initially store the milk in a jug in the fridge – the fat is so much easier to spoon off from a jug than a milk bottle.
This recipe will make just under a litre of coconut milk – let us know how you get on!
We hope you enjoy this blog post, let us your know thoughts in the comments below or on social media – we’re on Twitter, Facebook, Instagram and Pinterest. And don’t forget to sign up to our newsletter to receive a monthly update of our recipes, nutrition tips and expert advice.
- Boil kettle and leave to cool for at least five minutes
- Place coconut in a glass jug, bowl or directly in the blender
- Add water to the coconut and leave for 1-2 hours
- Blend together for 1-2 minutes
- Strain into a clean jug through a nut milk bag, muslin or fine mesh sieve, squeezing the bag to remove as much liquid as possible. Decant into a bottle or jug and store in the fridge for up to 3-4 days.
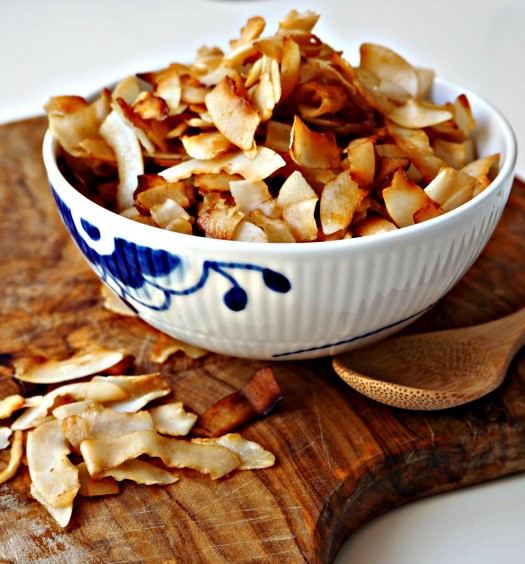
- Spread your leftover desiccated coconut onto parchment paper on a baking tray and dry in a cool oven at 120°C for around an hour (or until dry).
- Put the dry coconut into a food processor and blitz until it is a fine powder. You probably won’t get it quite as fine as commercial versions but it can be used in exactly the same way. Store in an airtight container.
You Might Also Like


